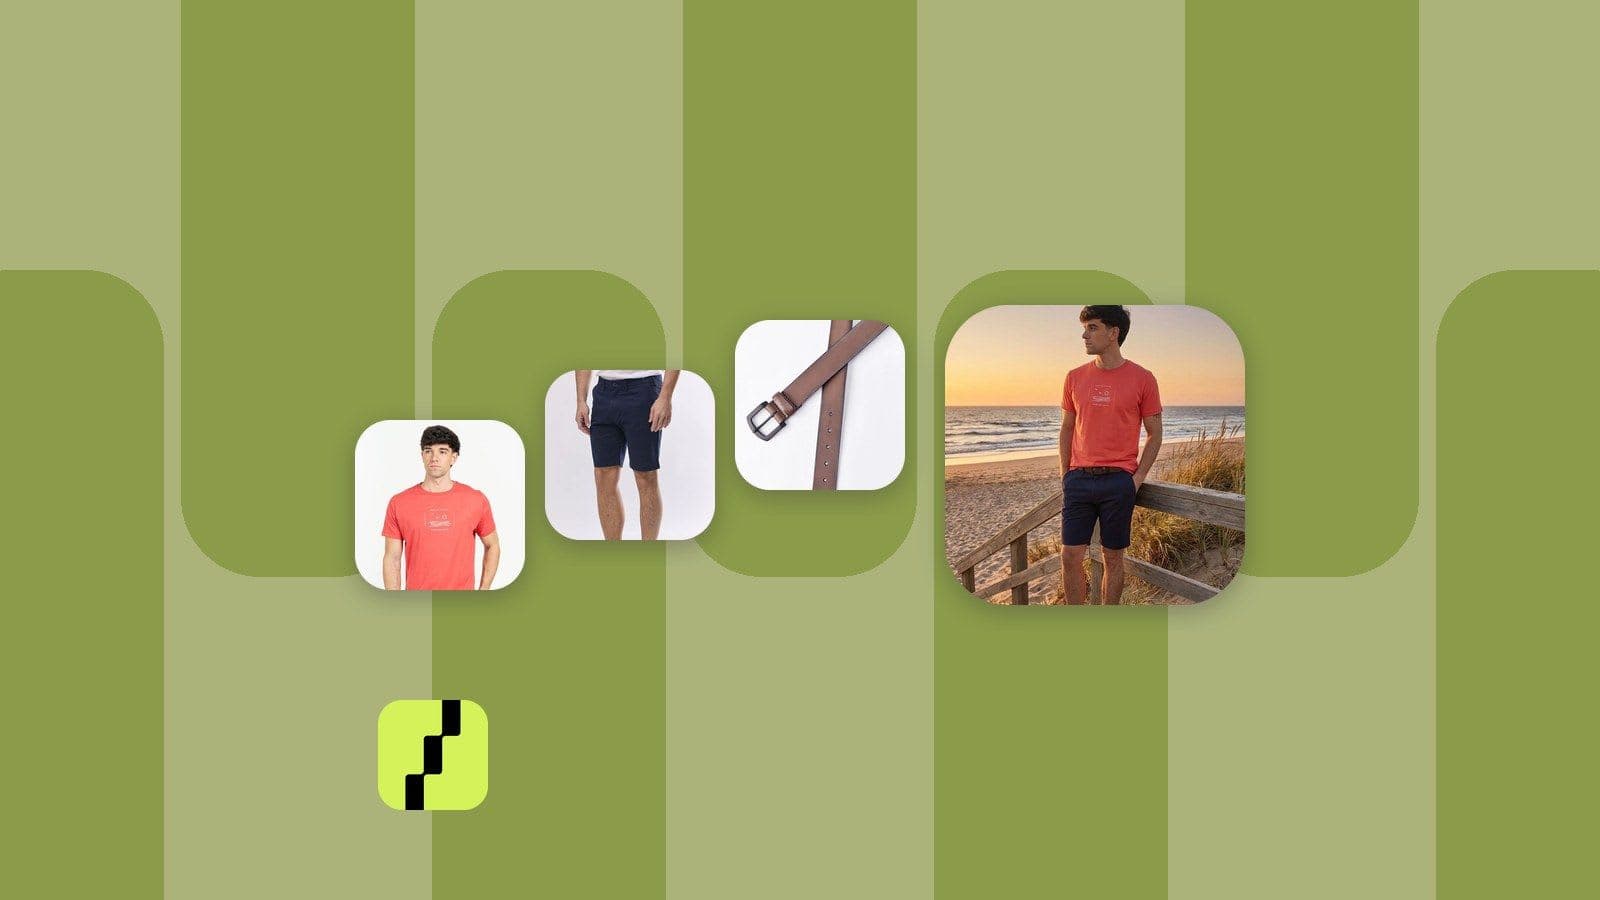
From Basic Photo to Professional Image: The Shoptic Process
Learn how Shoptic transforms a basic photo into a professional AI-generated image. Full step-by-step guide: styles, Brand Kit, variations and one-click upload to Tiendanube.

From Basic Photo to Professional Image: The Shoptic Process
Visual quality is one of the strongest drivers of ecommerce conversion. At Shoptic, we see every day how a single in-context image can transform a product page and boost results.
If you're new to the platform, we recommend starting with this introduction:
What is Shoptic? The AI platform for images, videos and ecommerce content
This step-by-step guide explains the full creation process inside Shoptic, a platform that connects with leading ecommerce solutions (currently Tiendanube) to generate images, videos, ads and complete SEO content for your product pages.
Step 1: Select your product
Start by choosing a product from your connected store. Thanks to integration with Tiendanube, Shoptic automatically imports your product title, description, images, price and category.
If you haven’t connected your store yet, follow this guide:
How to connect your Tiendanube store to Shoptic
Step 2: Choose your base image
Select the base image the AI will interpret. You can upload smartphone photos, supplier images, mockups, studio photos or renders. The AI maintains your product’s shape and design while allowing changes to background, lighting, environment and context.
Step 3: Choose an image style
Select from styles like Default (Shoptic Style), Studio, Lifestyle, Creative, Minimalist, Action or Flat Lay. Each one is optimized for different commercial objectives.
Step 4: Apply your Brand Kit
Activate your Brand Kit to apply colors, logo or both. This maintains a consistent and professional visual identity across your catalog.
Step 5: Optional adjustments
You can refine your results by adding custom instructions such as “modern environment with natural light” or “soft blurred background”.
Step 6: Choose how many images you want
You can generate 1, 2, 3 or 4 images. Shoptic creates variations that remain faithful to the product.
Step 7: Generate your images
The AI produces your images in seconds, applies your selected style, integrates your Brand Kit and optimizes size and quality for ecommerce.
Step 8: Download or upload directly to Tiendanube
You can download your images or upload them directly to Tiendanube. Shoptic does not replace your existing photos — you choose whether to upload the new image as the first or second position for A/B testing.
If you want to see how these images impact conversions, check this article:
How Shoptic increases your conversions with AI
Video: Watch the full Shoptic process
SEO & Conversion Impact
This image creation process in Shoptic helps you turn basic photos into in-context images and a professional image ready for your ecommerce store. You can apply styles like Lifestyle, Studio or Flat Lay, generate variations and upload to Tiendanube with one click. This improves conversion and keeps your catalog visually consistent.
Try Shoptic free: Get 10 free credits, no credit card required at shoptic.ai.
Share article: