Custom description: how to write for the AI so it generates what you have in mind
The AI doesn't interpret: it executes. Six tips for writing Shoptic's Custom Description so the result looks like what you have in mind, with real examples and a case from Tannery.
You wrote what you wanted. The AI generated something else. Or something close, but not quite that.
If that's happened to you, it isn't the tool's fault. The AI doesn't interpret: it executes. And what it executes is literally what you write, not what you picture.
In Shoptic you generate product images, videos, ads and content with AI, connected straight to your store. Inside every generation style there's a field called Custom Description: a space to give the AI an extra instruction, on top of the style you picked. Using it well is the difference between a generic result and one that looks like what you had in your head.
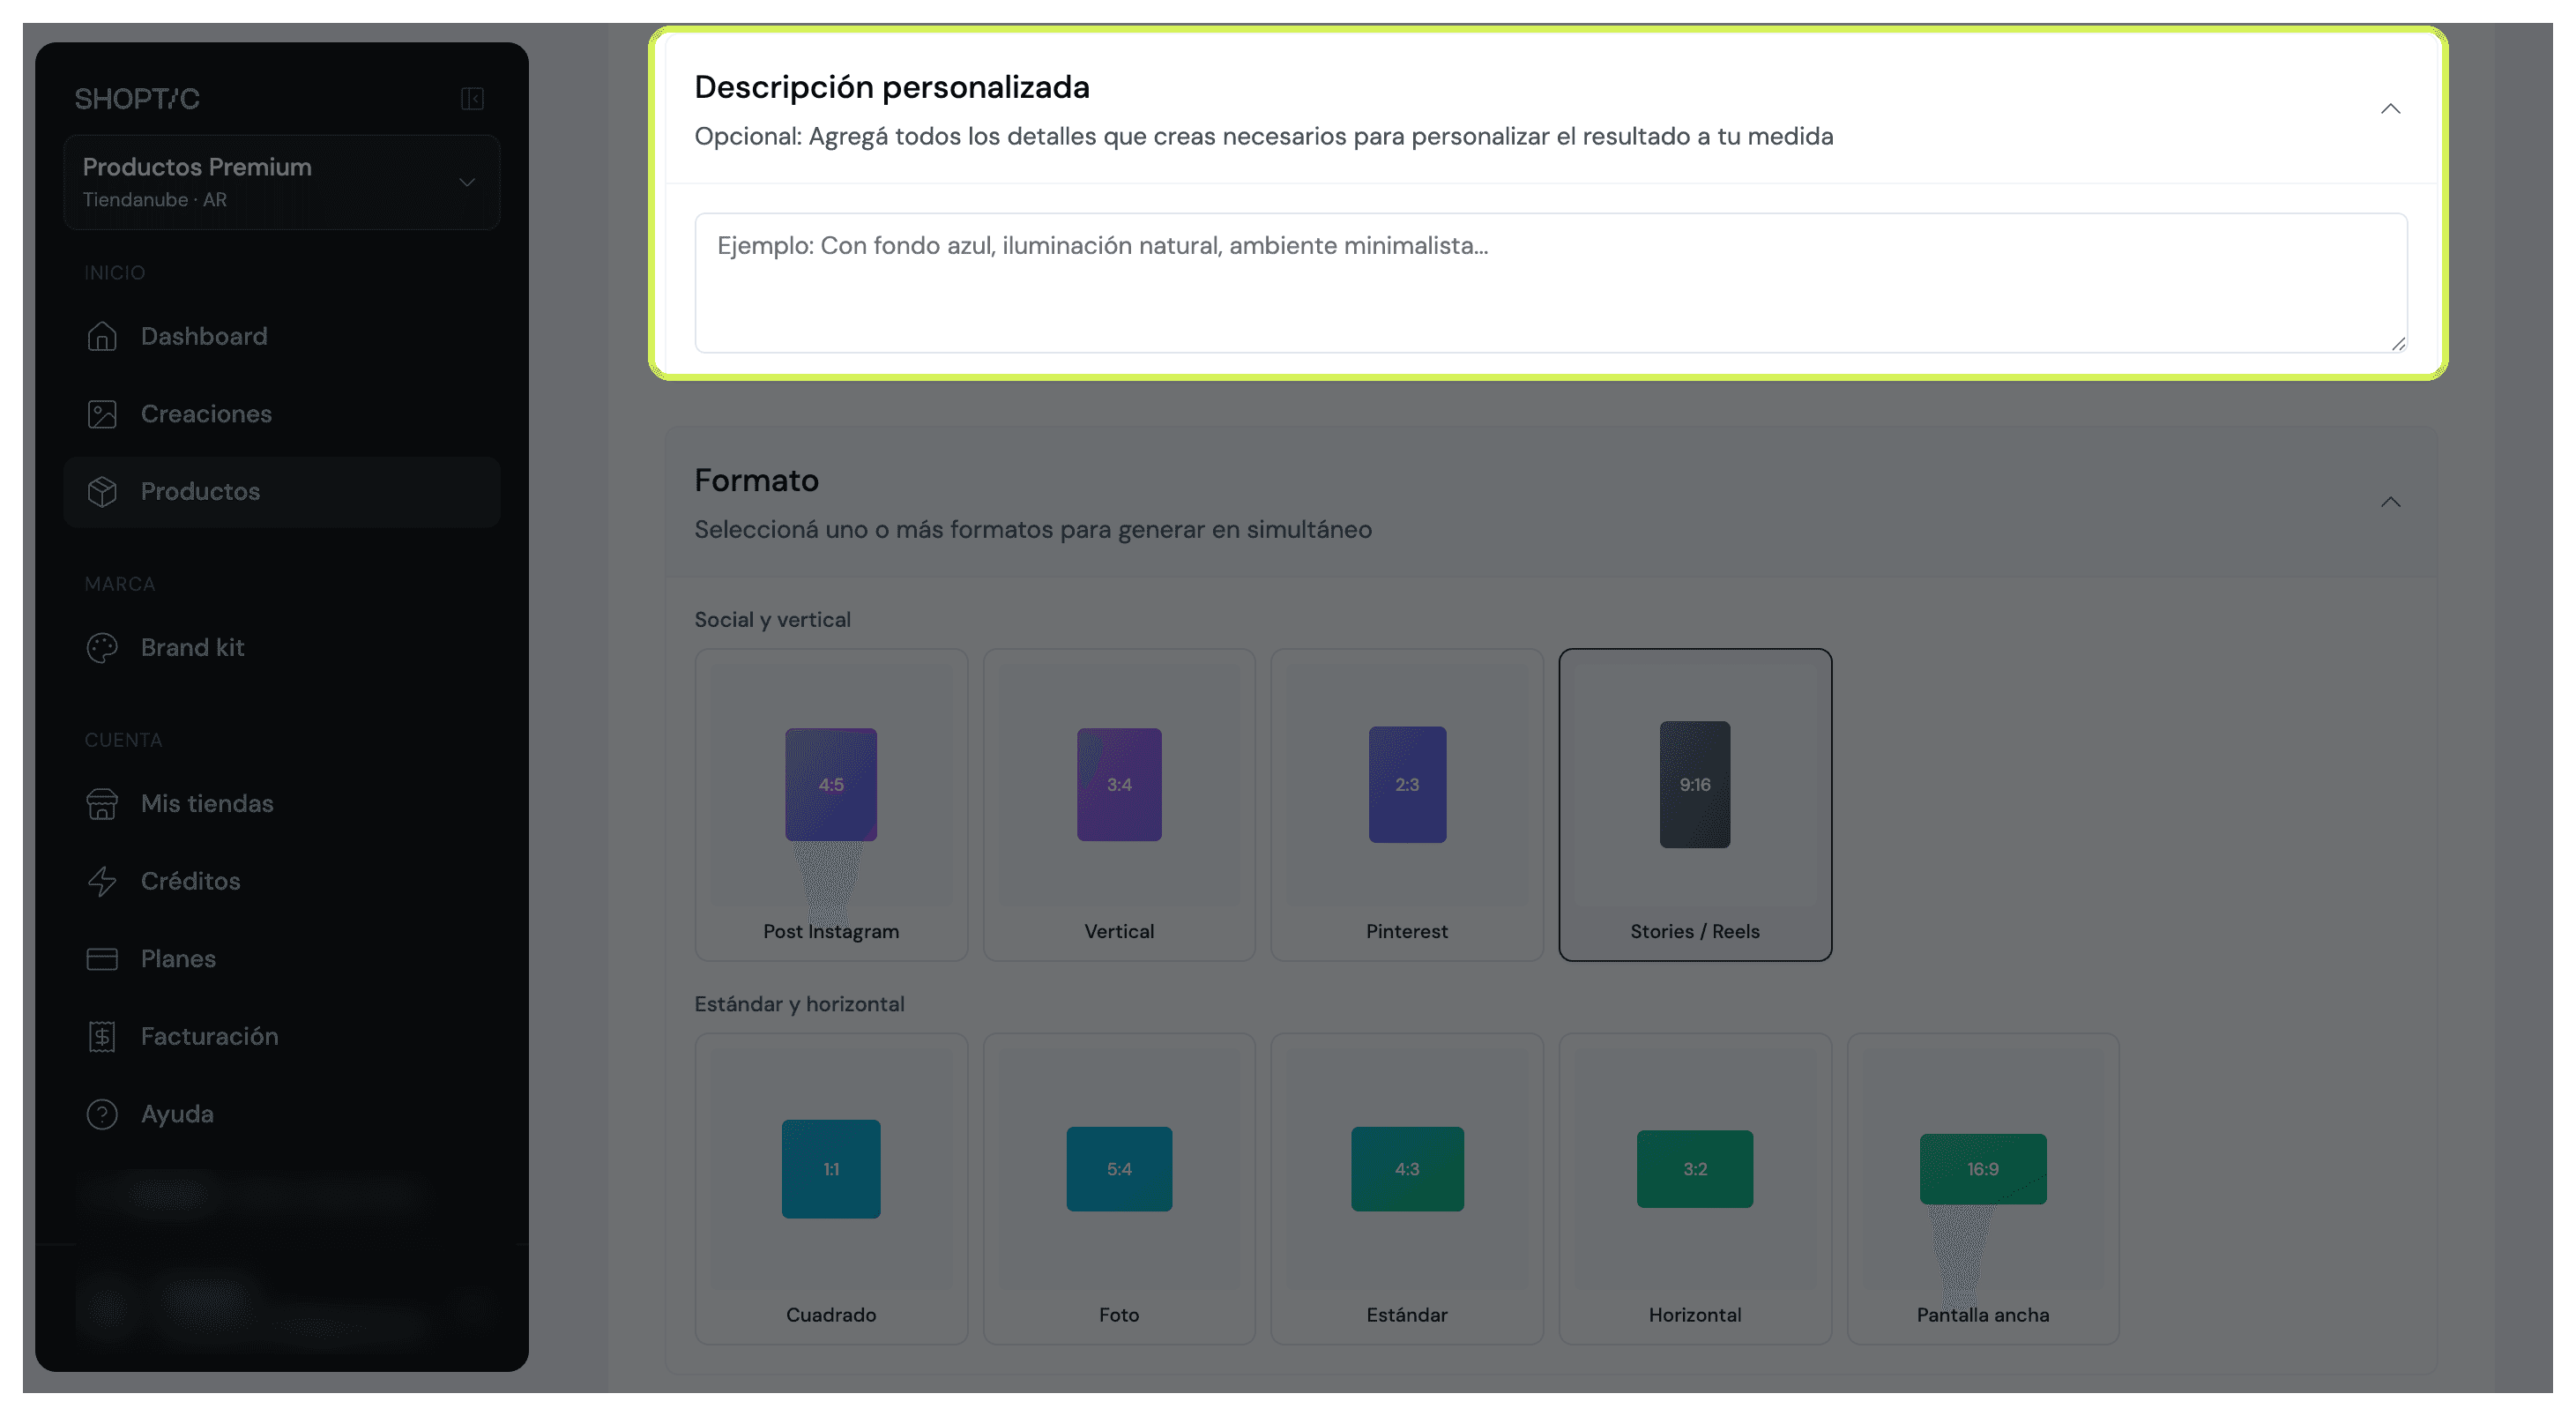
These are the tips that make the most difference.
Write little, but write well
The natural tendency is to put everything you want into a single instruction. The problem is the AI doesn't know what to prioritize when it gets too much at once, and the result tends to be random or incomplete.
Take this example: *"I want the table centered in a living room with 6 plates and 6 glasses on it, a table-runner style cloth, and a family meal served, ready to sit down and eat. The drink should be bottled water. There should be no elements that don't belong to a family lunch."*
That instruction has five or six separate requests. The AI will try to satisfy them all and probably won't fully satisfy any.
The same idea, rewritten: *"Table centered in a family living room. Lunch served, ready to sit down to."*
Shorter. Clearer. Closer to the result you want.
If you have several requests, splitting them across separate generations works better than bundling them into one. You generate, download, and on the next pass you add the detail that was missing.
Generate a draft first, scale up after
Before spending credits on a high-quality generation, it's worth validating the idea in draft mode.
You can generate at 512 resolution (draft mode) to see whether the composition, the context and the elements are in the right place. If the result is heading the right way, then you scale up to higher resolution and quality. If it isn't, you adjust the instruction and try again, without having burned extra credits.
It's the same principle as iterating in small steps: first you confirm the path is right, then you invest in the final result.
Be concrete, not interpretive
There's a huge difference between telling the AI *"make the product a bit bigger"* and telling it *"increase the product size by 20%"*.
In the first case the AI has to infer what "a bit" means. In the second there's no interpretation available: it knows exactly what to do.
The same goes for instructions like *"make it more natural"* versus *"natural side light, soft shadows"*. Or *"change the color"* versus *"replace the silver color with gold"*. If what you want is to swap the whole product rather than tweak a detail, that's what the Swap style is for: it replaces the product without redoing the scene.
The users who've already found this pattern write things like: *"Replace silver with gold, same white png background."* Or: *"Shrink to 70% and move it to the right."* Short, objective, with no room for interpretation.
When the instruction is concrete, the result is predictable. That's what you want.
Tell it what you don't want, too
The AI fills in whatever you don't specify. If you don't tell it not to add elements, it probably will. If you don't tell it to keep the background, it may change it.
A well-placed negative instruction removes that margin. Examples that work:
- *"Don't add any additional elements."*
- *"Keep the background exactly as it is."*
- *"Don't modify the product, only the environment."*
You don't need to write a paragraph. One line at the end of your instruction is enough to close off the chance that the AI decides on its own about something that matters to you.
Combine products from your catalog into one image
One of the least known things about Custom Description is that it lets you combine several products from your store in a single generation. In images with multiple products there's the detail on how it works.
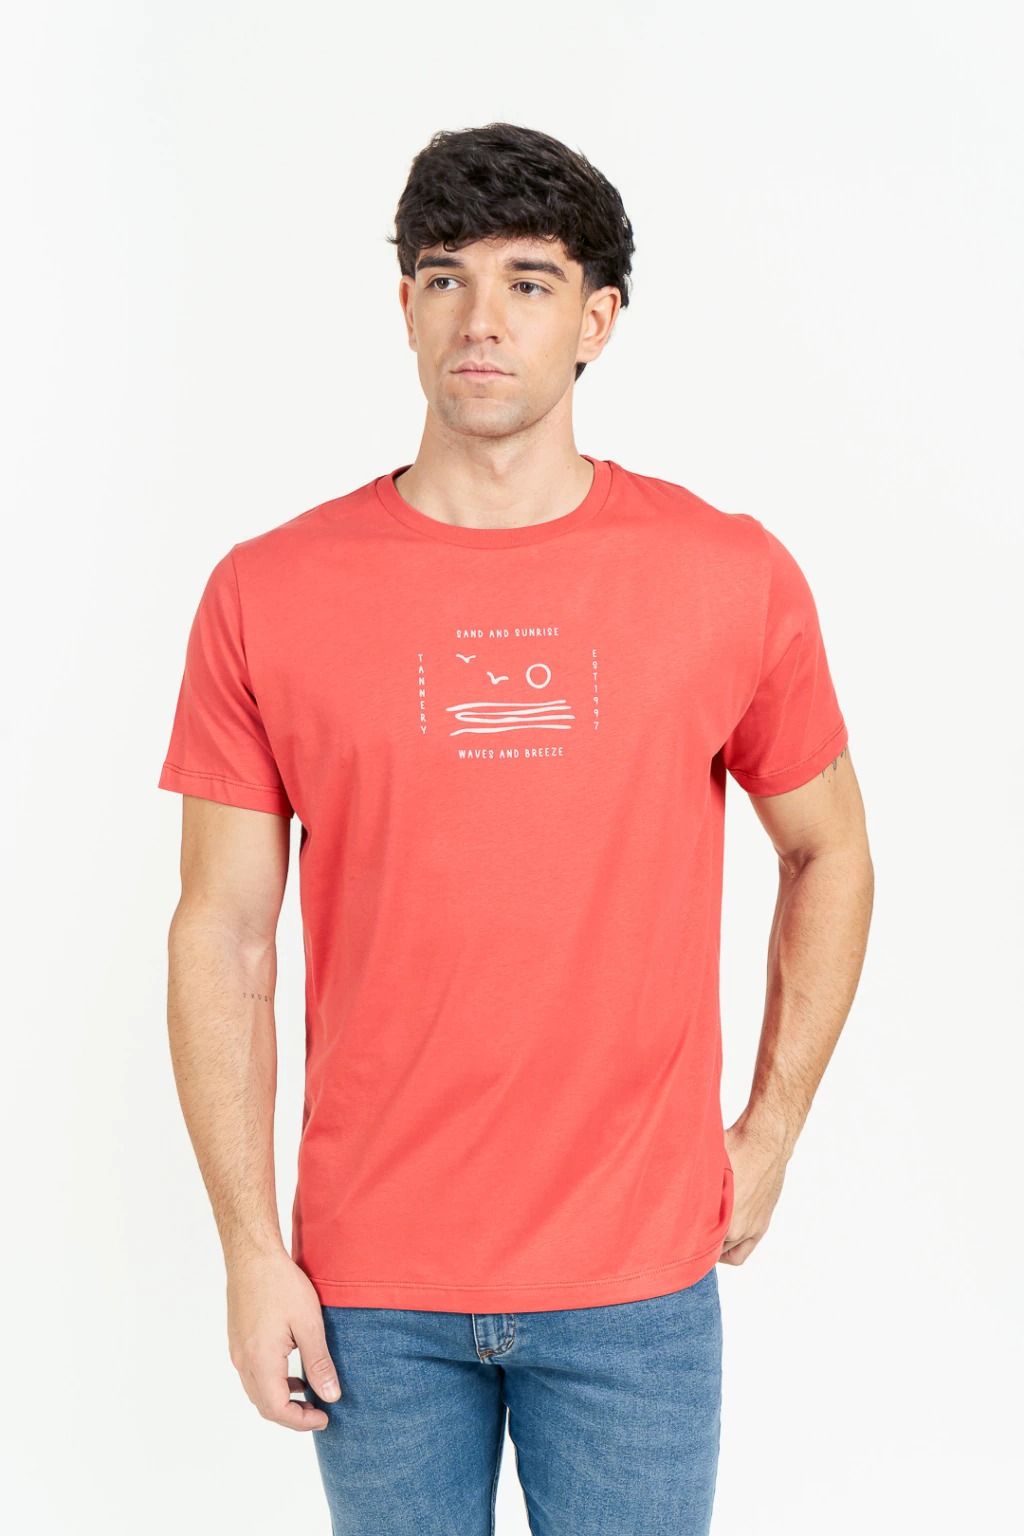
If you have a t-shirt as the main product, you can write something like: *"Combine the product (t-shirt) with the image of the shorts and the belt."* The result is an image showing all three products together, within the style you picked, like a complete look ready to publish.
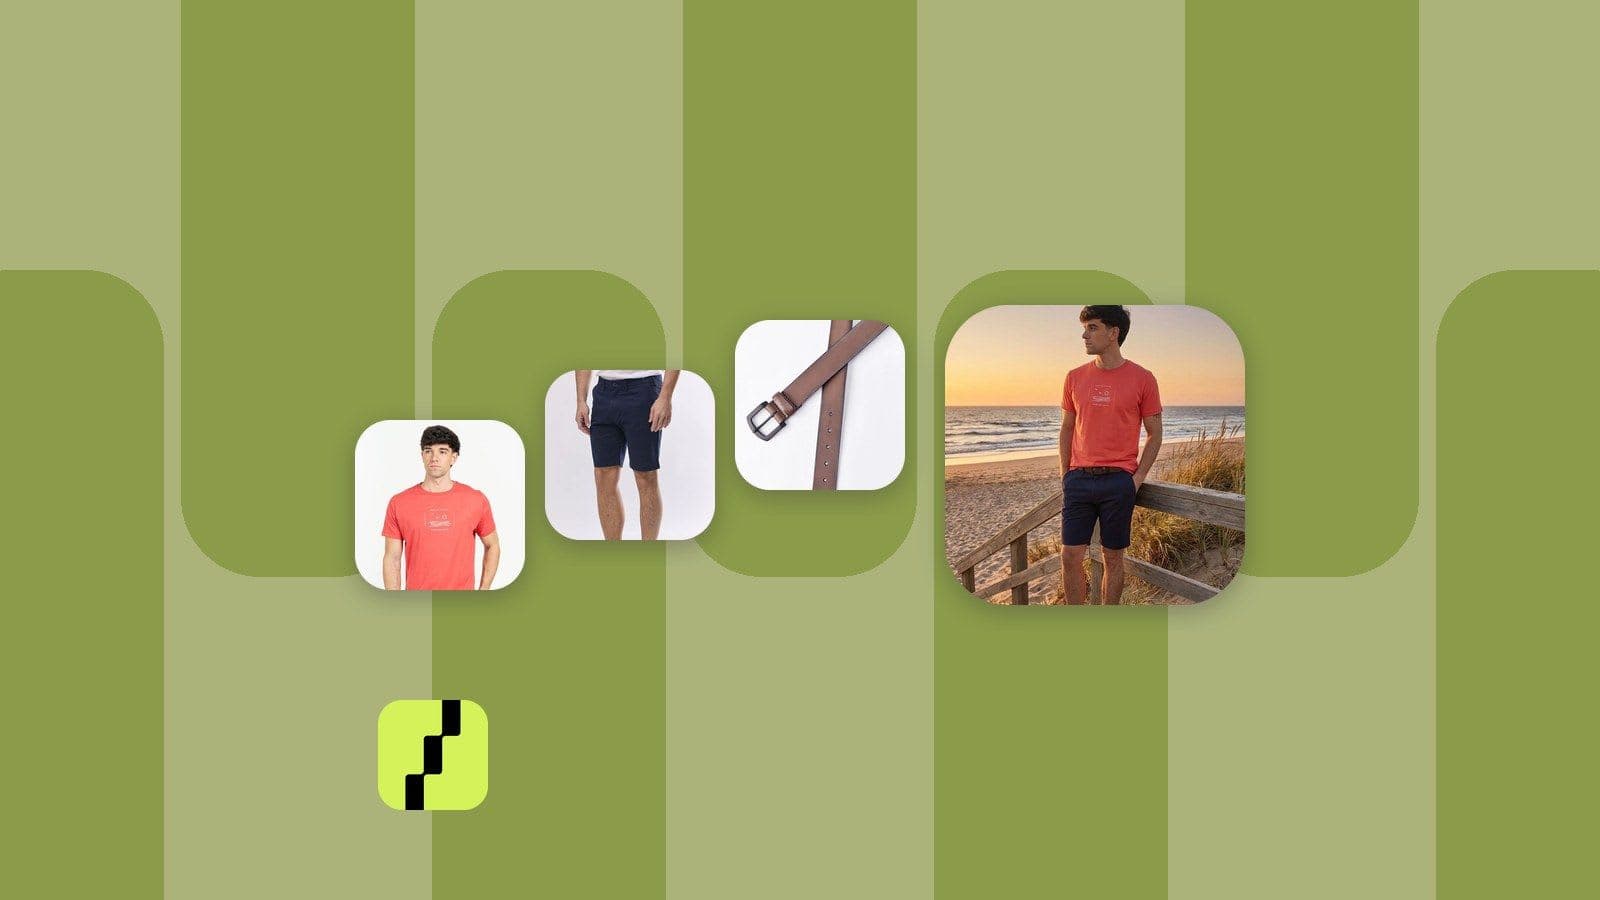
Tannery, a menswear store, used exactly this. They uploaded a t-shirt, a pair of shorts and a belt as separate reference images, wrote the instruction to combine them, and generated an image that pulls them into a single look.


The three products went in separately and came out in one scene.
This is especially useful for clothing, accessories or home decor stores, or any category where showing products in combination helps the buyer picture using them together.
How to iterate without getting frustrated
The path that works best isn't writing the perfect instruction on the first try. It's going from less to more.
A real example: a user working on images of a tray with accessories went from *"Place tray in uploaded photo"* to *"Shrink tray to 50%"* and then to *"Shrink tray and add a small necklace resting on it"*. Three generations, three steps. Each one starting from the previous result.
That's using Custom Description the way it should be used: as a conversation, not as a single order that has to come out perfect.
| What doesn't work | What works |
|---|---|
| A long instruction with several requests bundled together | One clear request per generation |
| "Make it a bit bigger" | "Increase the size by 20%" |
| "Make it nicer" | "White background, no extra elements" |
| Only describing what you want | Describing what you want AND what you don't |
| Generating straight at high quality | Testing in draft (512) and scaling if it works |
| One single generation to solve everything | Iterating step by step on the previous result |
Related articles
- What is Shoptic: AI product photos connected to your store
- Images with multiple products generated with AI
- Replace a product in an image with the Swap style
- Model Shot: AI-generated model photos for clothing
Frequently asked questions
Is Custom Description available on every generation type?
Yes. The field is available in Images, Ads and Videos. It works the same in all of them: it's an extra instruction you give the AI on top of the style you picked.
How many characters can I write in Custom Description?
The field accepts long text, but writing more doesn't guarantee a closer result. Quite the opposite: short, concrete instructions tend to land closer to what you have in mind.
What is draft mode and when is it worth using?
Draft mode generates the image at 512 resolution, which uses fewer credits. It's for validating that the composition and the elements are heading the right way before scaling to high quality. If the result is good, you scale. If not, you adjust the instruction and try again without having burned extra credits.
Can I use Custom Description to combine several products in one image?
Yes. You can upload reference images of different products and ask the AI to combine them into a single image. For example: *"Combine the product (t-shirt) with the image of the shorts and the belt."* The result shows the products integrated within the style you picked.
Can I use Custom Description to change a product's color?
Yes, and it works well when the instruction is specific. Instead of "change the color", write something like "replace the silver color with gold". The more exact you are, the more precise the result.
What if the AI doesn't do exactly what I asked?
Generate again with a tighter instruction. If you asked for several things at once, splitting them into separate generations usually solves it. Iterating in small steps gives more predictable results than one complex request.
Does Custom Description replace the style I picked?
No. The style is still the basis of the generation. Custom Description adds a layer of instruction on top: it adjusts details, removes elements, changes proportions, changes the setting or combines products, always within the frame the style defined.
Can I write the description in English?
Yes. The AI understands instructions in English and Spanish. Some users with experience in AI tools prefer to write in English, and both work equally well.
Try it on your next generation
Pick a product, pick a style and write one concrete instruction in Custom Description. Then adjust on top of that result.
Share article: