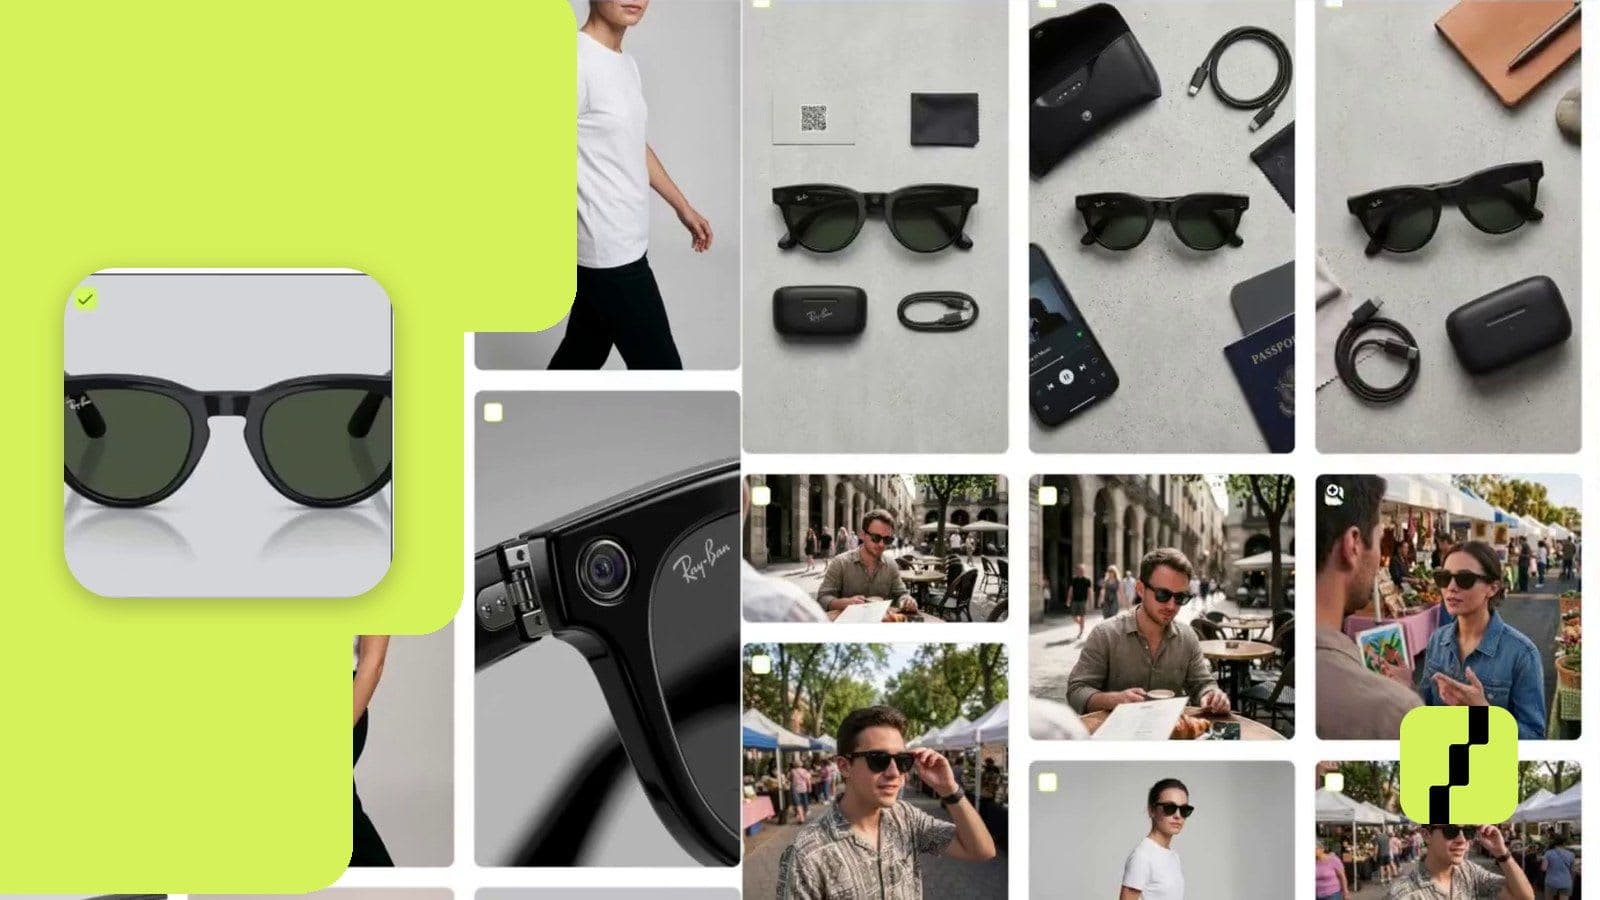
How to Connect Your Tiendanube Store to Shoptic (Step-by-Step Guide)
Learn how to connect your Tiendanube store to Shoptic and sync your products to generate AI-powered images, videos, ads, and optimized content in minutes.

How to Connect Your Tiendanube Store to Shoptic
Video: How to Connect Your Tiendanube Store to Shoptic
Watch this step-by-step video showing how to connect your Tiendanube store to Shoptic in just a few minutes.
If you sell online with Tiendanube and want to improve the quality of your product pages with professional AI-generated images, the first step is to connect your store to Shoptic. This quick guide shows you how to do it in just a few minutes.
Once connected, Shoptic will automatically sync your products so you can generate contextual images ready to use in your store and on social media — without photoshoots, without hiring designers, and without wasting time.
Requirements
- An active Tiendanube store.
- A registered Shoptic account.
How to access Shoptic
You can start in two ways:
1) From the Tiendanube App Store
Search for Shoptic in the Tiendanube App Store and click “Install app.” From there, you can create your account or sign in.
2) From the Shoptic website
Go to https://app.shoptic.ai, sign up, and verify your account through the confirmation email. Once inside your Dashboard, you’ll see the option to connect your store.
Step 1: Enter the admin URL of your Tiendanube store
Inside the Shoptic Dashboard, look for the “Connect your TiendaNube/NuvemShop” block. There, you’ll need to paste the admin panel URL of your store.
Important: do NOT use your store’s public URL (the one your customers see). You must use the admin URL, for example:
https://yourstore.mitiendanube.com/admin
Once entered, click “Connect now”.
Step 2: Accept permissions in Tiendanube
After clicking “Connect now,” a pop-up window will open in Tiendanube showing the permissions Shoptic needs to sync your products.
Simply click “Accept and start using”.
There are no intermediate steps — the connection is completed automatically.
Step 3: Automatic product sync
Once permissions are accepted, your store will be connected, and Shoptic will start displaying your products in the “Products” section.
From there, you can select any product and generate contextual images, professional styles, or social-media-ready content in seconds.
Benefits of connecting Tiendanube with Shoptic
- Smarter content generation: Shoptic’s AI automatically uses all product information (title, description, attributes, category, and existing images) to generate images, videos, ads, text, and SEO content much faster and with greater accuracy.
- Upload results directly to Tiendanube: you can publish generated images straight to your store without downloading or manually re-uploading files. Everything happens inside Shoptic.
- Ecommerce-optimized images: images are delivered with recommended dimensions and file size for fast loading on your product pages.
- Boost in sales: contextual product images can increase conversion rates by up to 40%.
- Save time: no need for photoshoots or hiring designers.
- Social-media content in seconds: generate ready-to-publish versions without any technical skills.
- Less effort, better results: just choose the product and the type of image — Shoptic does the rest.
Ready to get started?
Connecting your Tiendanube store to Shoptic takes less than 2 minutes and instantly improves the visual quality of your product catalog.
Share article: